Notification Templates
Accessing the Notification Template section
- Click the
 from the top menu and choose Issues from the dropdown list.
 Select Notification Templates from the left menu.
Alternatively you can press '.' to show the quick search dialog and type Notification Templates and hit <enter> to go to this menu.
- Next, you will see the following screen:
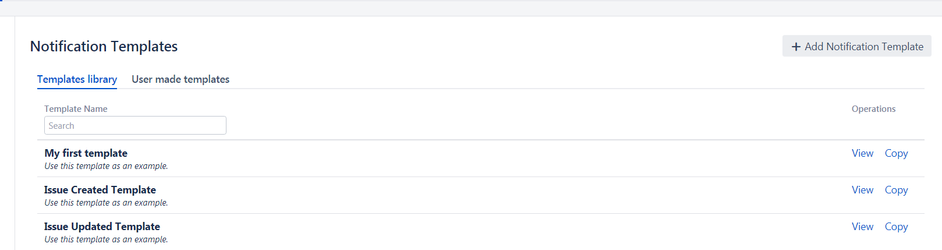
In the first tab (Templates library) you will fond you some built-it templates. These templates could help you by the time you create a new template.
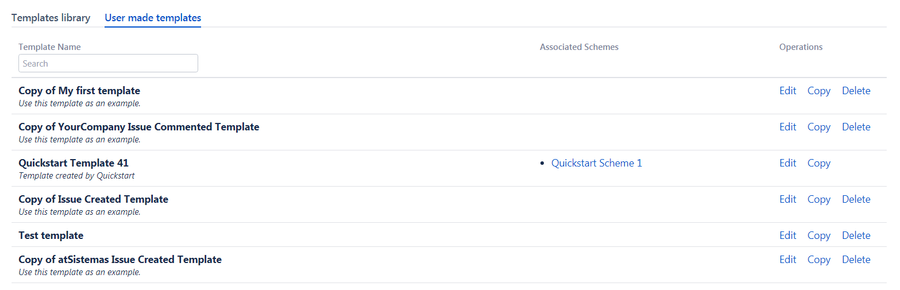
In the second tab (User made templates) you will find the templates you have created for using in your notifications.
On this page
Please be aware that you need a JIRA administrator account before you can perform the tasks mentioned on this page!
Create your first template
To create a new template, simply press the  button located at the top of the page. In the next screen you will see a form to edit your new template.
You can also click in the Copy link in any of the templates in the Templates library. In this case a new template will be created based on the selected template and placed in the User made templates tab. Go there to edit it.
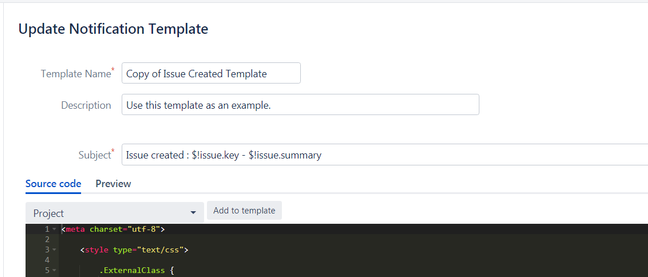
The template screen shows you the Template Name, Description and Subject of the template. Also you have a full HTML editor for the source code and a live preview tab. Template Name and Subject are mandatory fields.
Notification templates are HTML templates that could have dynamics Velocity tags to include date from the related issue when sending notifications.
A very simple template would look like this:
<html>
    <body>
        <p><b>$user.displayName</b> has created a new issue with summary $issue.summary</p>
        <p>$!issueDescHtml</p>
    </body>
</html>
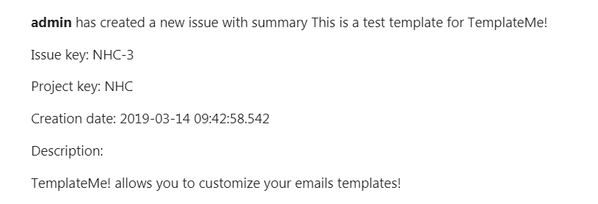
This template will look like this when is used in a notification

Add fields and custom fields to the template
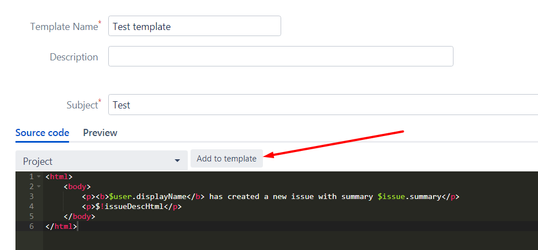
TemplateMe! allows you to easily add fields and custom fields to your template. Just find in the select list the field you want to add to the template and click the Add to template button:
For example we want to add the following fields to the simple template before: The issue project name, the issue key and the creation date.
Let's do this and reorder the fields in the template. Once done it would look like this:
<html>
    <body>
        <p><b>$user.displayName</b> has created a new issue with summary $issue.summary</p>
        <p>Issue key: $!issue.key</p>
        <p>Project key: $!issue.projectObject.key</p>
        <p>Creation date: $!issue.created</p>
        <p>Description: $!issueDescHtml</p>
    </body>
</html>
And the notification will look like this:
As you can see it is very easy to create a powerful template. From this simple template you can add custom fields, styles and so on to make your template be efficiente and look really professional. If you want to know what dynamic code could your insert in your templates, please look the available variables option.
When finished click the Update button to save your template.
NotifyMe! Integration
If you have also installed the NotifyMe! app and want to TemplateMe! to display the text of the email in any place of your template, then simply add the $!notifymeHtml variable to your template.
Preview your template
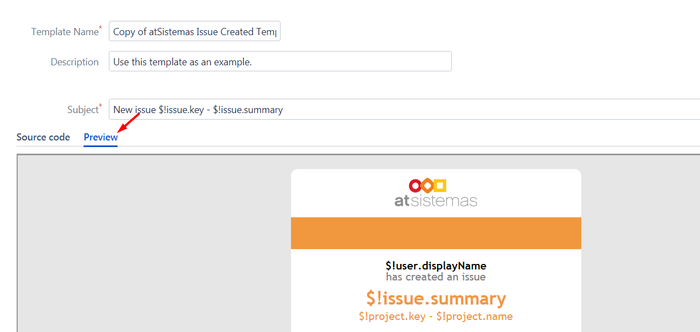
In any moment you can preview your template by clicking the Preview tab in the manage template view:
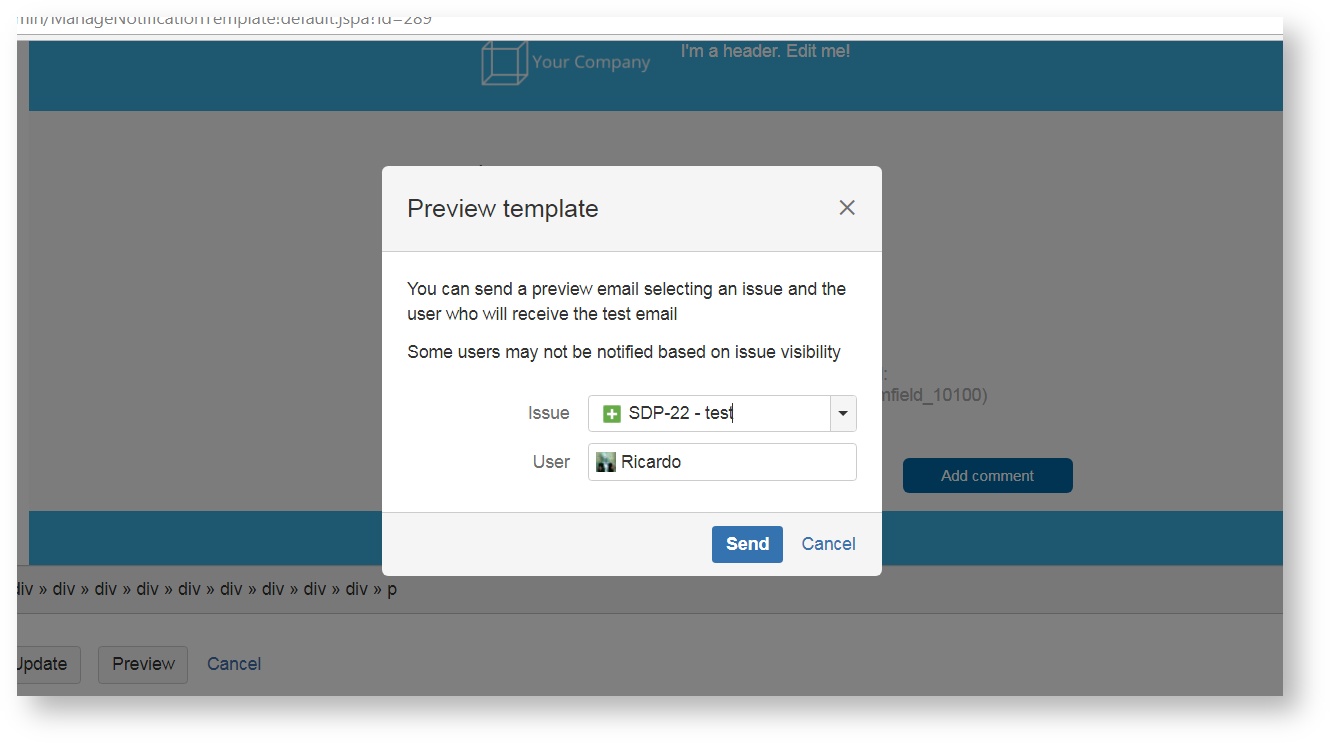
Send a preview email
If you want to see how look your template using a real example you can click the Preview button. Please note that you have to save your template first. In the next screen select a existing issue and an user to send a preview email.
Delete, Edit or Copy a Template
After you have created a template, it will appear in the list of User made templates. At the right hand side of each template you can select any of the actions available. You can edit, copy or delete a template.
Multilanguage support
You can use one template for different languages. Depending on the user's default language in their Jira configuration the template will render a fragment or another. To use the multilanguage support add the following code to your template:
<html>
    <body>
        <p><b>$user.displayName</b> has created a new issue with summary $issue.summary</p>
        <p>Issue key: $!issue.key</p>
        <p>Project key: $!issue.projectObject.key</p>
        <p>Creation date: $!issue.created</p>
        <p>Description: $!issueDescHtml</p>
        <p>
        #if ($language == 'spa') THIS TEXT WILL ONLY BE RENDERED IF THE RECIPENT LANGUAGE IS SPANISH #end
        #if ($language == 'eng') THIS TEXT WILL ONLY BE RENDERED IF THE RECIPENT LANGUAGE IS ENGLISH #end
        </p>
    </body>
</html>
What kind of languages ara availables? All of these (under the 639-2 column).
For example if you want to put a greeting line depending if the user language is french or italian you can use the following code in your template
<html>
    <body>
        <p>
			#if ($language == 'fre') Bonjour! #end
			#if ($language == 'ita') Ciao! #end
		</p>
    </body>
</html>
Available variables
When creating your templates you can use the following variables. These variables will be replace on the fly when sending notifications. TemplateMe! uses velocity templates in order to render the email content. You can know more about Velocity here.
| Variable | Description |
|---|---|
| $!issue | The whole Jira issue. You can access al methods and properties of the issue. Example: $!issue.reporter.emailAddress |
| $!event | The notification event. Example: $!event.eventTypeId |
| $!user | The user that triggered the notification. Example: $!user.emailAddress |
| $!project | The issue's project. Example: $!project.key |
| $!comments | The Comment objects. Example: #foreach ($c in $!comments) c.body #end |
| $!baseurl | Jira base url. Useful for constructing url and links Example: $!baseurl/projects/$project.key/issues/$issue.key Renders like http://myjira.com/projects/projects/BNB/issues/BNB-143 |
| $!currentTimestamp | The current date time Example: This email was sent $!currentTimeStamp Renders like Wed Aug 01 09:22:46 CEST 2018 |
| $!dateTimeFormatter | Date formatter. Example: $!dateTimeFormatter.format($issue.created) Renders like 23/jul/18 1:19 PM |
| $!lastComment | Last Comment object Example: $!lastComment.authorFullName |
| $!lastCommentText | Text of the last comment Example: $!lastCommentText |
| $!lastCommentHtml | Html styled content of the last comment Example: $!lastCommentHtml |
| $!lastCommentAuthor | Full name of the last comment Example: $!lastCommentAuthor |
| $!issueType | Name of the issue type Example: $!issueType |
| $!issueDescHtml | Html styled description of the issue Example: $!issueDescHtml |
| $issueManager | |
| $!customFieldManager | Use the Atlassian's customFieldManager class Example: $customFieldManager.getCustomFieldObject("customfield_10200")
|
| $!changelog | Obstains the issue changed values in the transition (if any) Example: #foreach ($cl in $!changelog) $cl.name: $!cl.oldValue $!cl.newValue #end |
| $!insightcf | Extract values from Insight custom fields. |
| $!userPropertyManager | Get properties from the user profile Example: $!userPropertyManager.getPropertySet($!issue.reporter).getString("phone")
|
Customize content based on the user's groups
SINCE V 2.4
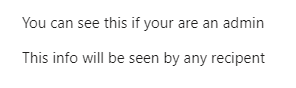
You can limit the visibility of certain fields based on the email recipent's groups. TemplateMe! add the user groups names to a variable named $userGroups:
#if ($userGroups.contains("jira-administrators"))
 <p>You can see this if your are an admin</p>
#end

<p>This info will be seen by any recipent</p>

#if (!$userGroups.contains("jira-administrators"))
 <p>Admins won't see this!</p>
#end
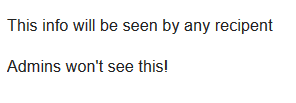
If an admin receives an email based on this template will see this:
If a non-admin receives an email based on this template will see this: