Open your favorite email program and create an email:
...
Image Added
...
Next, set the recipient address to be the email address that was set up by your JIRA administrator to create issues in your project. Now hit the send button to send the email.
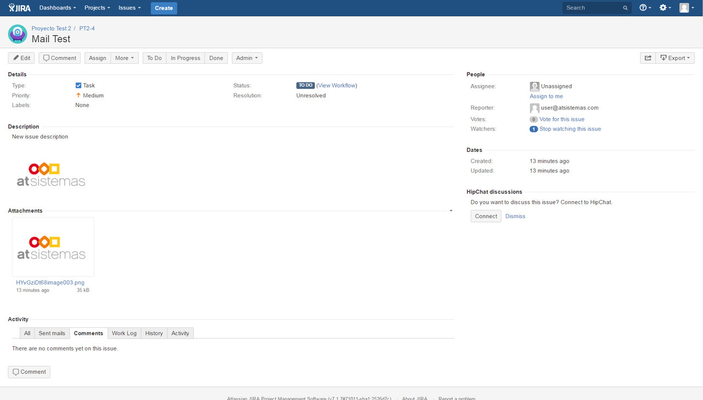
Step 2: ReceiveMe! processes the incoming mail
ReceiveMe!regularly checks the email inbox and will create an issue using the mail body
...
as the description of the issue. If the email subject contains a valid issue key
...
,
...
then the mail body
...
will be added to the existing issue as a new comment. In both cases, the format and inline images
...
from the
...
originating mail will be respected.
Image Modified
...
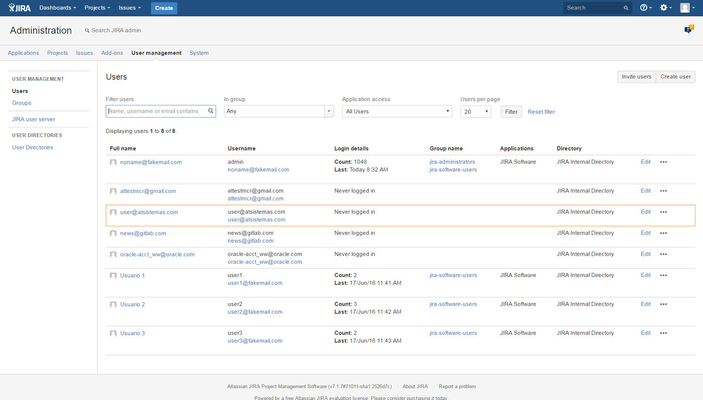
Step 3: ReceiveMe!
...
optionally creates a
...
user
...
account
If the email sender
...
doesn't exist in JIRA ReceiveMe!will create a JIRA user account. This user doesn't consume any JIRA