User Guide
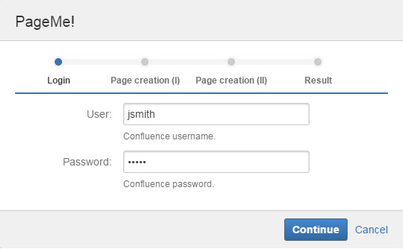
Step 1: Login to Confluence
Click on the PageMe! button in the JIRA issue to start the page creation process. You will have to enter your Confluence credentials. PageMe! will remember the login details for 15 minutes. To login with a different user, click the "Change User" in the next screen. Once you have entered the Confluence login details, click "Continue" to test the authentication and proceed.
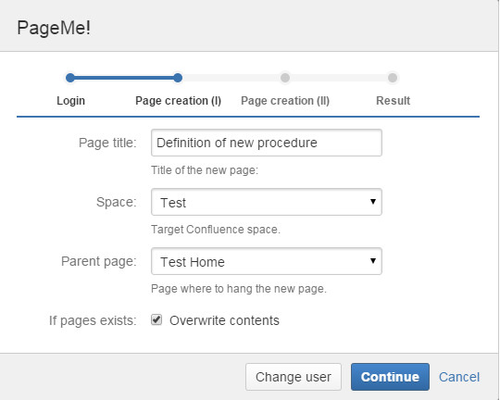
Step 2: Title, space and parent page in Confluence
Once logged in, the "Page creation" screen will appear. Type the new page's title, destination space and new page's parent.
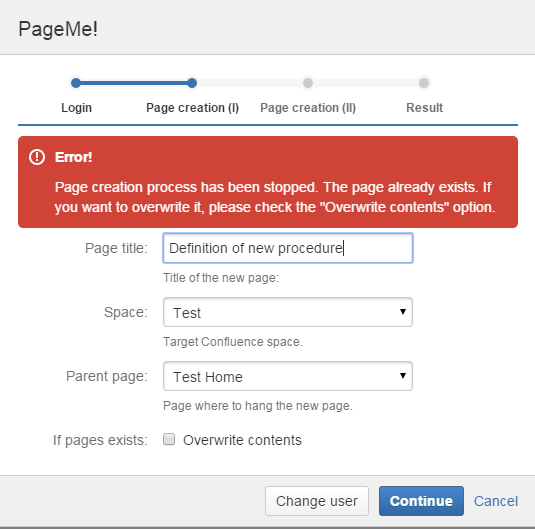
If your page's name already exists in Confluence, PageMe! will ask to correct the title or ask you to confirm to overwrite the existing page. To do this select the "Overwrite contents" option
Click "Continue" to go to the next step or choose "Change user" to login to Confluence with the different username and password.
Step 3: Choose custom fields and sub-tasks behavior
Next up you can select the none-empty custom fields that you wish to export to the new Confluence page.
Also, choose a behavior for the issue's sub-tasks:
"Don't perform any action" will just ignore this issue's subtasks.
"Detail them on page" will export the list of subtasks as a table on the new page
"Create new page" will generate a sub-page for each sub-task. You will also be able to choose which custom fields to export for each issue type in the set of sub-tasks.
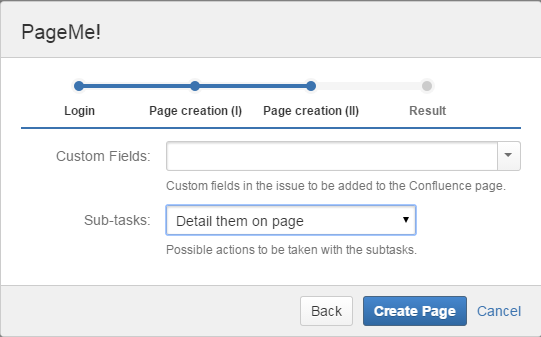
Click "Create Page" to create the new page in Confluence. The created page will automatically link to the JIRA issue from which you started the PageMe! process.
On this page