User Guide
Send email
In order to send a new email, click in the Send by email button at the top of the issue view. After that you will see a new form to send your email:
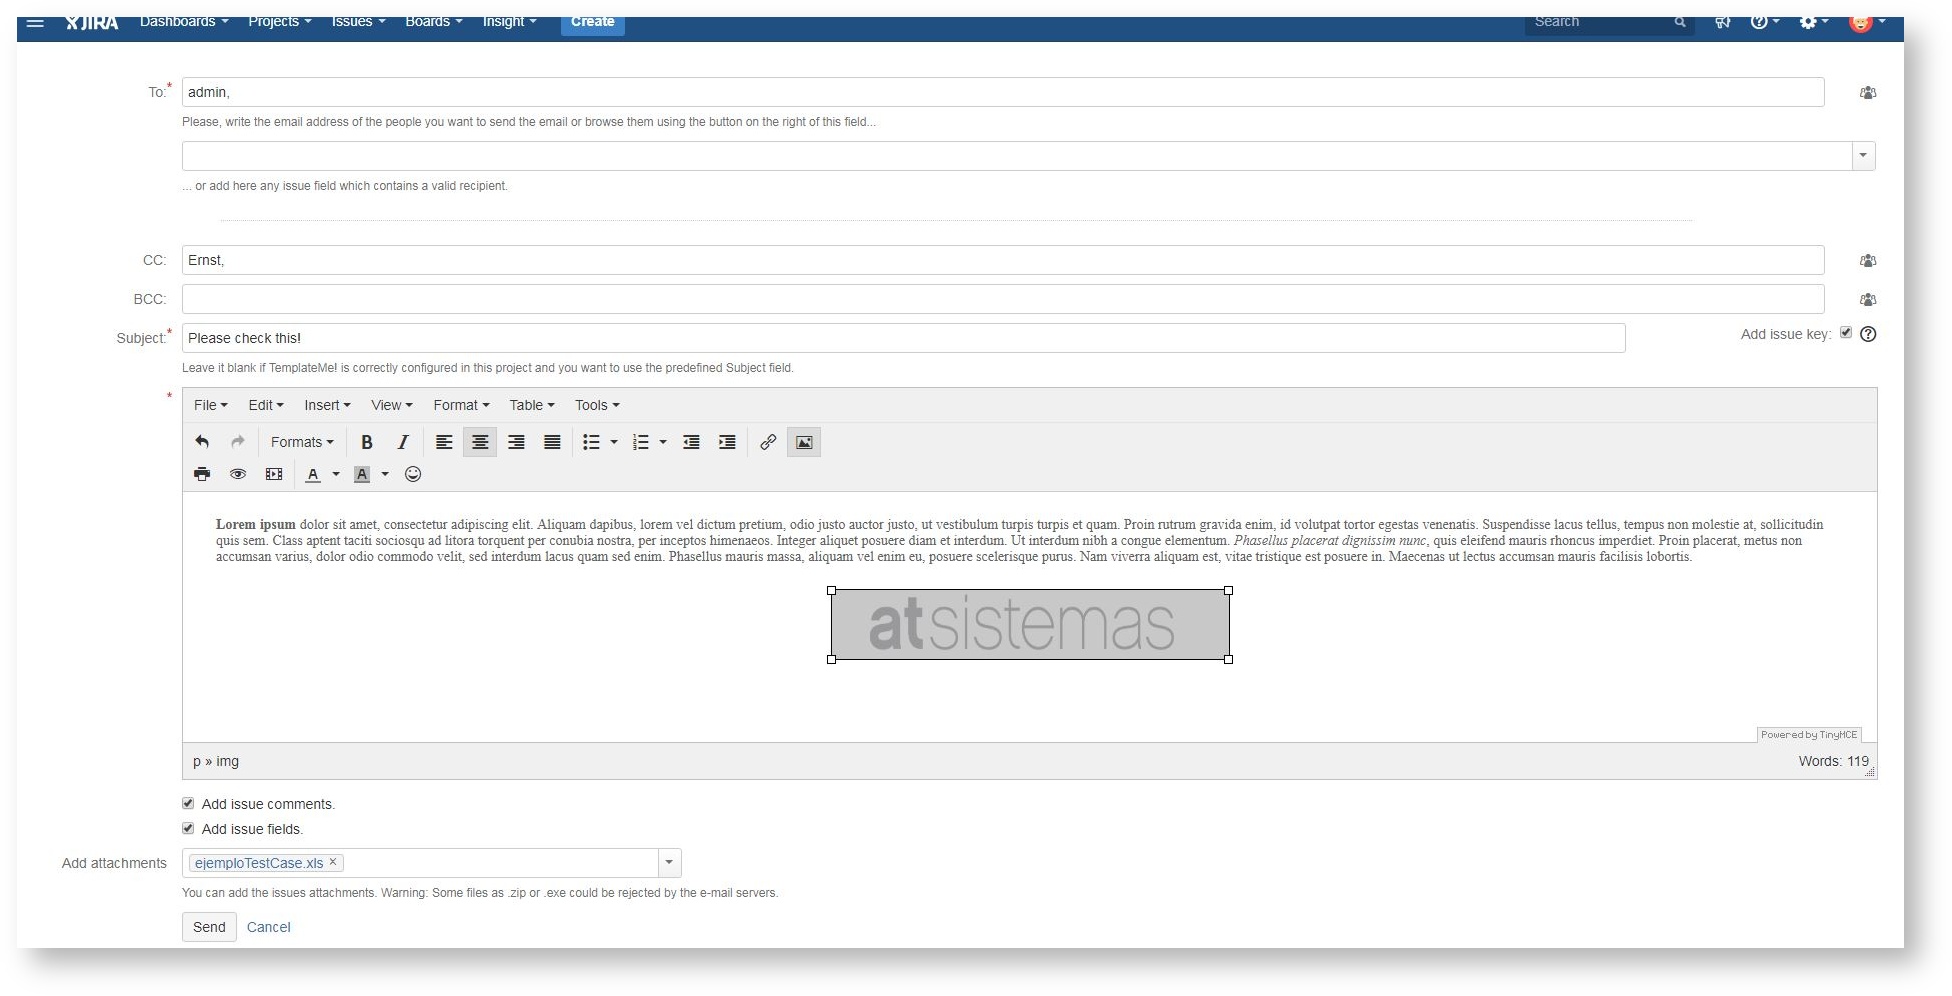
Here you must to fill all the required fields in order to send a new email.
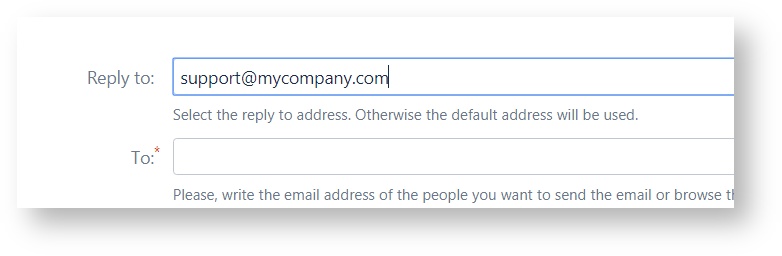
Reply to address
If your project admin has enabled this option you can specify a reply to address.
Select recipients
In TO, CC and BCC fields you can specify ordinary comma-separated email addresses or directly write the user name or full name of registered JIRA users. The field will suggest users that match the name you typed. You can also hit the user picker icon that allows you to filter and search for any registered user in JIRA. You can also choose e-mail addresses from a custom field (user fields single and multiple, group fields simple and multiple and text fields ) with a drop down list that shows you all the possible options.
Specify other email details
Specify the subject of your email and continue typing the description of the email.
Note that you can leave the subject field blank if you have configured TemplateMe! addon for the current project. In this case, the subject field will be fill with the subject value of the associated template.
Moreover, in case of TemplateMe! is configured for the current project, the email body of this form will be place inside of the associated template, as long as the ${notifymeHtml} variable will be properly set in the template content.
If you want, you can add all the comments from the issue at the end of the mail by checking 'Add issue comments'.
Also, you can check 'Add issue fields' if you want to prepend the text you enter with issue key and summary, description, reporter and assignee and use the following tags that will be rendered with the corresponding issue attributes:
| Tag | Issue attribute |
|---|---|
| $!issue.key | The issue key (for example ABC-123) |
| $!lastCommentHtml | Last comment (preserving html style) |
| $!lastCommentAuthor | Author of the last comment |
| $!Issue.reporter | Reporter of the issue |
| $!issue.assignee | Assignee of the issue. |
| $!issueDescHtml | Description of the issue (preserving html style) |
| $!emailHistoryHtml | Send the email history (the content of the issue's sent emails tab) |
For example you could write an email like this
Hello $!issue.assignee

$!lastCommentAuthor just added this comment to the issue $issue.key

$lastCommentHtml

Please write me back when you have a fix for this.
And it will be rendered and sent like this
Hello admin(admin)
Alice just added this comment to the issue TCP-3352I need a new keyboard. Mine just got wrecked!
Please write me back when you have a fix for this.
Need more customize options in your emails? Take a look to TemplateMe!
Add the issue key to the subject
By default the issue summary and key will be the subject when creating a email.
Add attachments
From version 2.0.3 onwards you can also select the issue attachments and attach them to the outgoing email. While you can add any attachment, please take note that some files (for example .exe files or very big files) could be rejected by the mail server without further notice.
Add your name to the sender address
If checked this option will add the sender user name as the from name (for example "Bob Jenkins <mycompany@email.com>").
To who and when was the email sent?
After sending an email, you will able to see the list of all emails sent by NotifyMe! under tab called 'Sent emails' on the issue view screen. This feature allows you to know if this issue was sent previously by any member of the team:
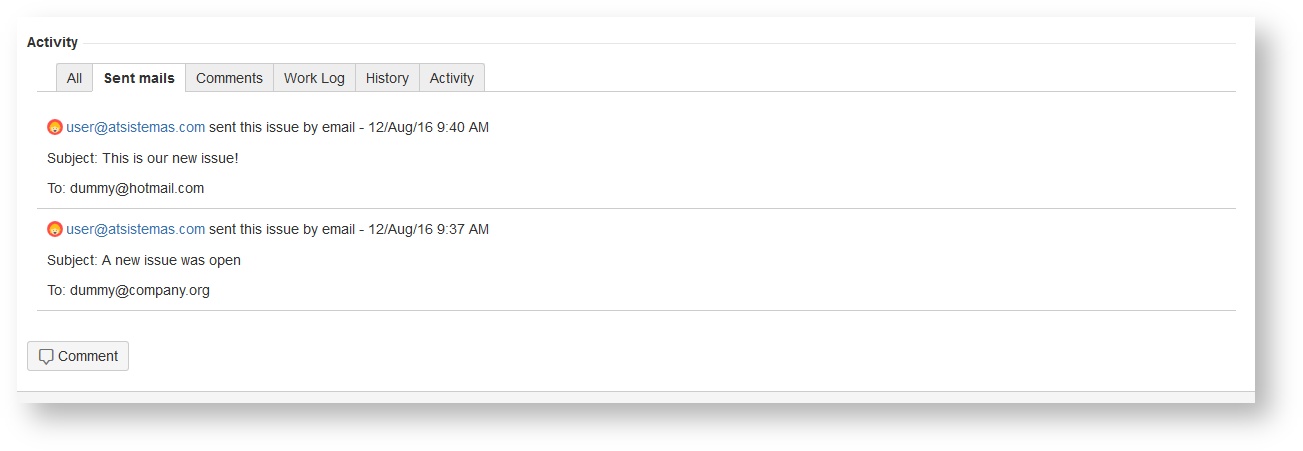
Also, the mail content will appear in this tab as well.